Generators often experience great damage during electrical surge and overload. Also, they supply more than desired voltage to your circuit breakers, which sometimes damages any equipment and appliances in use. In order to control such conditions and ensure protection from any kind of electric or fire hazards, you need to make sure that your generator’s Automatic Voltage Regulator (AVR) is in good working condition.
AVR is an electronic device that is present in several appliances to prevent electrical surge. It is also present in an AC generator. Being a solid-state device, it regulates the output voltage. It settles the output terminal voltage at a fixed value. AVR comes into the function when the load on the generator is changing and has an effect on the voltage output.
What are the Functions of AVR?
Interestingly, AVR of a generator does not only regulate the voltage but also performs various other functions.
An AC generator converts mechanical energy into electrical energy. It works on the principle of electromagnetic induction. As it produces alternating current, the electrical energy is not fixed. This way, it can result in interference and cause damage to wires, electrical appliances and the generator as well.
That’s where an Automatic Voltage Regulator (AVR) comes in! It sets the output voltage at a fixed value so that no such damage takes place. Here are basic functions of AVR in an AC generator:
Regulates Output Voltage
As already discussed, AVR helps regulate the output voltage by taking in a static value so that there is no effect of overload on the output voltage. Thus, your generator, wiring, and electrical equipment remain safe and protected from any kind of electrical or fire hazards.
Regulates Droop Voltage in Parallel Generators
Other than regulating output voltage, AVR is also responsible for maintaining the droop voltage when it comes to parallel/synchronous generators.
Usually, a parallel operating generator has the same amount of voltage between its parallel generators. If there’s an electrical surge, there may be a drop in generator output voltage. This results in one generator bearing greater load than the other one.
As a result, load imbalance takes place. The generator that bears the high current will likely trip.
With the presence of AVR, the chances and risks of overload are minimized. As AVR identifies the droop voltage, it will help maintain the output voltage of each generator. So, despite any electrical surges or sudden loads, each generator will remain stable and deliver optimal voltage.
In order to detect droop voltage, AVR comes equipped with a droop kit that is known as droop CT. The droop kit does not necessarily have a fixed point of attachment – you can attach it to the load sensor, output cable, or ampere that moves through main cable roll.
If you are looking for your droop kit, make sure that you check it in all possible locations.
Acts as a Safety System Against Voltage, Overload, and Overcurrent
As it is an electrical device, your generator might experience several disturbances such as high voltage, overload, or overcurrent.
Thankfully, AVR comes with a safety overcurrent exciter. When the power load exceeds the generator’s limit, AVR will send the extra amount of voltage to this overcurrent exciter coil.
If the current passing to the exciter exceeds AVR’s fixed amount, it results in a disconnection between the electrical circuit of AVR and exciter coil. This way, the generator won’t produce any excess voltage and you will be protected from any major damage.
How to Adjust the Voltage of Generator Using AVR?
As mentioned above, it is possible to adjust the voltage of a generator using AVR in order to receive the right amount of voltage supply. AVR regulates the output voltage by controlling the excitation generator produced in the exciter coil.
AVR can be used for the average frequency 60/50 Hz for single or parallel generators as well as generators that work on the higher frequency of 400 Hz. It allows you to adjust the voltage but you must follow the right steps:
- Carefully remove the generator’s cover.
- In the 7’o clock direction, you will see a kidney-shaped device; this is AVR. It must be fixed into place using bolts so you will need to remove the bolts.
- Do not touch or disconnect the wiring while unscrewing the bolts. Turn over the AVR so that its back side faces you.
- A round piece will likely come off, known as the capacitor. You will be able to locate a small rectangular box held with a jewellers screw; this is the voltage adjustment screw of AVR.
- Take a flat-head screwdriver. Turn the screw in a clockwise direction to lower the output voltage. Keep looking at the voltmeter to know when you reach the desired output voltage.
- If you have a bigger generator unit, say 5000 W+, adjust the screw to 250 volts. However, for the smaller units, the voltage should be set to 120 volts.
If you still can’t adjust the output voltage, that’s most likely due to a lack of expertise on your part or your AVR is faulty. In this case, you need to hire a technician to look into the matter.
Safety Precautions
Remember that voltage adjustment is not difficult but you need to follow safety precautions such as:
- Read the operator manual to find out where the AVR is located and how to access it.
- Always stop the engine and disconnect the spark plug wire before making any adjustments.
- Make sure the engine has completely cooled down so that you do not get any burns.
- Keep any flaming objects away, like cigarettes.
What is the Working Principle of AVR?
The working principle of AVR depends on the type of excitation system of the generator.
Generally, there are two types of excitation systems:
- Self-excited
- PMG-excited (Permanent Magnet Generator)
The only difference between both excitation systems is that the PMG-excited generator system comes with permanent magnets, whereas the self-excited system does not.
The PMG-excited generator system is better than the self-excited system as it offers a relatively stable voltage to the exciter coil.
Self-Excited Generator System
The working principle of AVR for self-excited generator system is mentioned below:
- AVR gets the output voltage from the main coil and sends it to the exciter coil as the supply. At the same time, the AVR also receives voltage from the main roll and uses it as a sensor for how much voltage to generate.
- The amount of voltage in the exciter roll is then adjusted according to the output voltage that the AVR generator receives from the main roll.
- If the output voltage is lesser than the required voltage, the AVR sends more voltage to the exciter coil. When the voltage in the main coil reaches the desired amount, AVR limits the voltage supply passing to the exciter roll.
Thus, the higher the voltage in the exciter coil, the higher the output of the generator.
PMG-Excited Generator System
The PMG-excited generator system follows the same working principle as the self-excited generator system. The only difference is that the PMG-excited system comes with two parts:
- PMG rotor
- PMG stator
So, here’s how it works:
- The voltage from PMG passes to the AVR and then moves to the exciter coil. Here, the amount of voltage is either fixed or it depends on the speed of rotation of the generator.
- While the self-excited generator generates its own electricity with the exciter coil to send to the rotor, PMG-excited generators use PMG to produce voltage supply.
What Happens if AVR Fails?
Most commonly, AC generators come equipped with Field Failure Protection. If AVR fails, this protection comes into play and the generator trips, causing no damage.
If AVR fails or trips, the generator continues to receive reactive power and keeps running, although at a higher speed than its synchronous speed – this might cause severe damage.
In this case, there are two-time delays:
- If failure to generate voltage is due to less supply of voltage received, the AVR does not remain capable of maintaining voltage and so the generator trips right away.
- If AVR fails and there is no under or over voltage, there will be a delay of 1 to 2 seconds. In most of the cases, the AVR restores from failure.
How to Detect a Faulty AVR in a Generator?
All AVRs come with an adjustment screw that you can use to set the limit of voltage and regulate the output voltage.
Experts use the elimination process to find out if the AVR is at fault. Here’s how it goes:
- Test the main circuit breaker of the generator
- If the breakers are working fine, test the wiring in the electrical panel and the one that attaches the breaker to the stator.
- If the wires are in good working condition, you should look into the AVR’s adjustment screw. Make sure it is set in the right position/limit.
- If the set output is right, move to the rotor brushes. They should be in contact with the rotor and working fine.
- Next, check the stator. If the stator is not producing power, your AVR is not faulty. However, if it produces power, your AVR has probably failed and thus needs replacement.
How to Replace a Generator’s AVR?
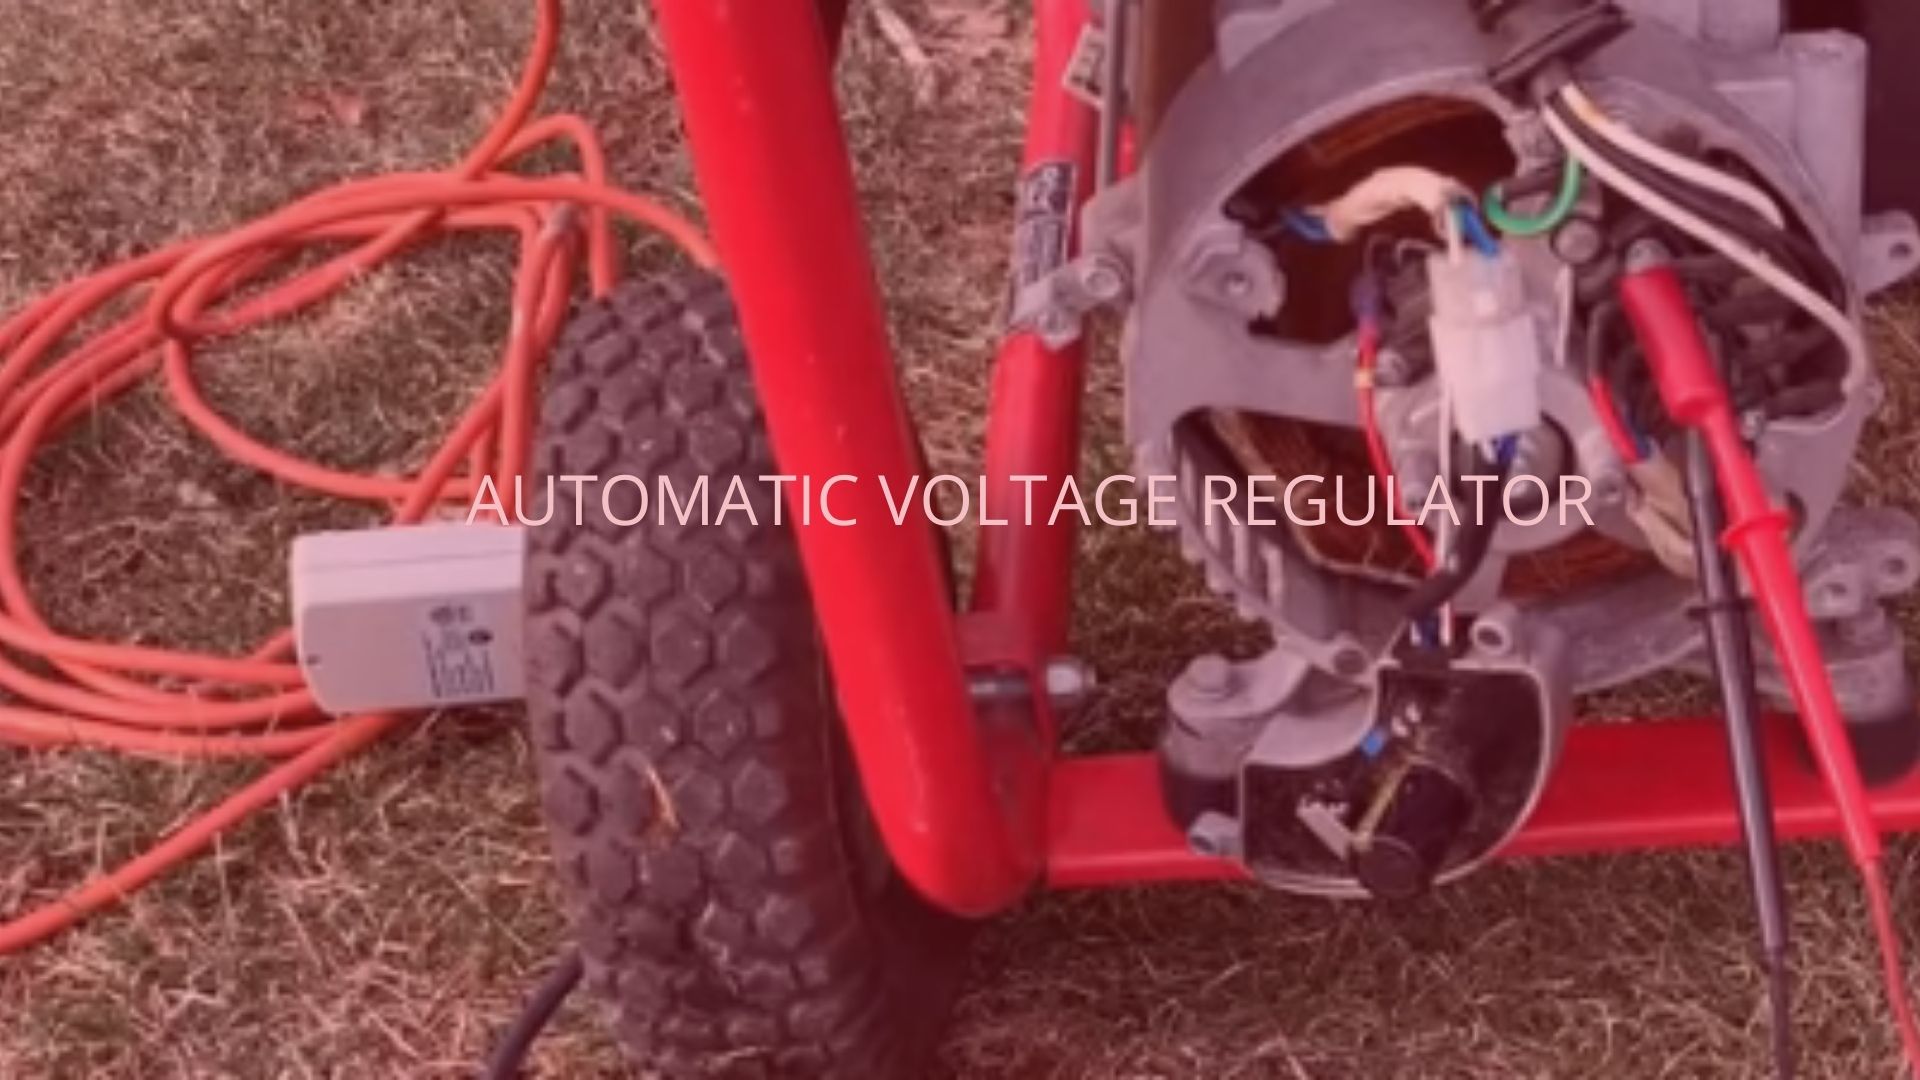
Replacing a generator’s AVR is the only solution if it fails. It is a small device located near the carbon brushes in the bottom left of your generator’s head.
To replace your generator’s AVR, follow these steps:
Locate the Carbon Brushes
Remove the cover carefully. In the centre of this compartment, you will find a carbon brush holder. Detach the positive and negative wires from the terminals. You can also remove the screws to find out if the problem lies within the carbon brushes or the regulator.
If the carbon brushes are corroded and stuck in the same position (probably downward), then there is likely a problem with the carbon brushes. However, if they are in good working condition, move to the next step.
Unscrew the Voltage Regulator
Once you locate the voltage regulator, remove its screws. Disconnect the quick connector present at the right side to free the regulator.
Attach a New Regulator
In the next step, attach the new regulator to the quick connector. Screw it in place and connect the positive and negative wires of the carbon brushes. Remember, positive always goes to the left. Follow it by screwing the cover head.
And you are done!
Replacing your generator’s AVR is as simple as that. However, make sure you follow the right steps. Usually, all generators, no matter what shape or size, have the same assembly process. It is still better to look into the user manual to get familiar with the right location.
We suggest watching a video tutorial to get a better idea of where the regulator is placed, how to disconnect the quick connector and snap in a new regulator.
How Much Does a New AVR Cost?
Well, there’s nothing to worry about if your AVR fails. This device does not cost a lot. You can get a new AVR for as low as $10.
But in order to make sure that you buy an original piece that does not fail anytime soon, we would suggest buying it from your generator manufacturer. It might be a bit pricey, say around $100 – but it is worth the cost. Your generator will function just right and deliver the desired voltage output.
Final Words
Almost all electrical devices and equipment include an AVR. It helps regulate the voltage supply and prevents any damage to your equipment.
In the case of an AC generator, AVR maintains the voltage supply, regulates droop voltage, and acts as a safety system. If it fails, you can easily replace it with a new one.
We hope that our information has proved to be useful.