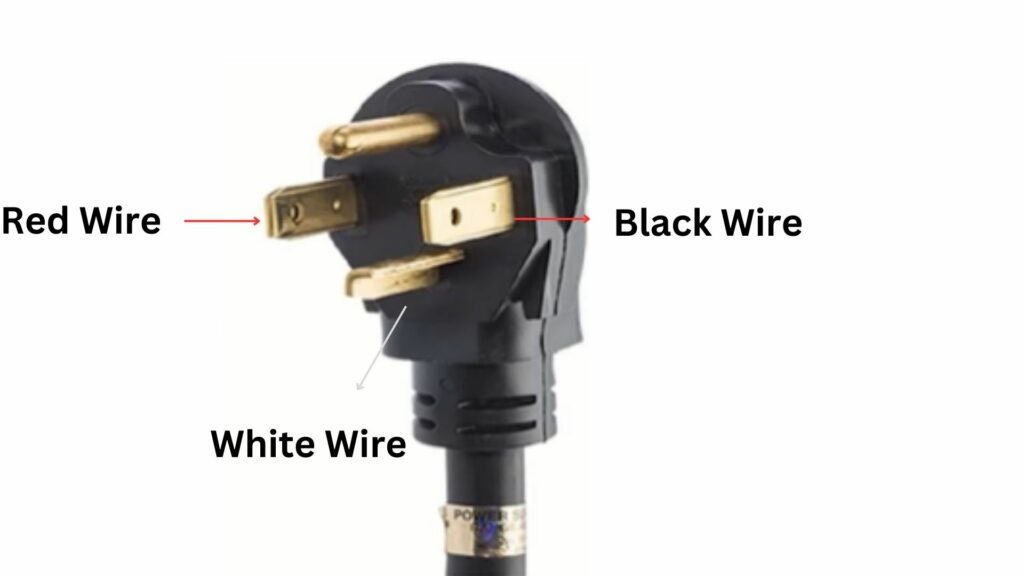
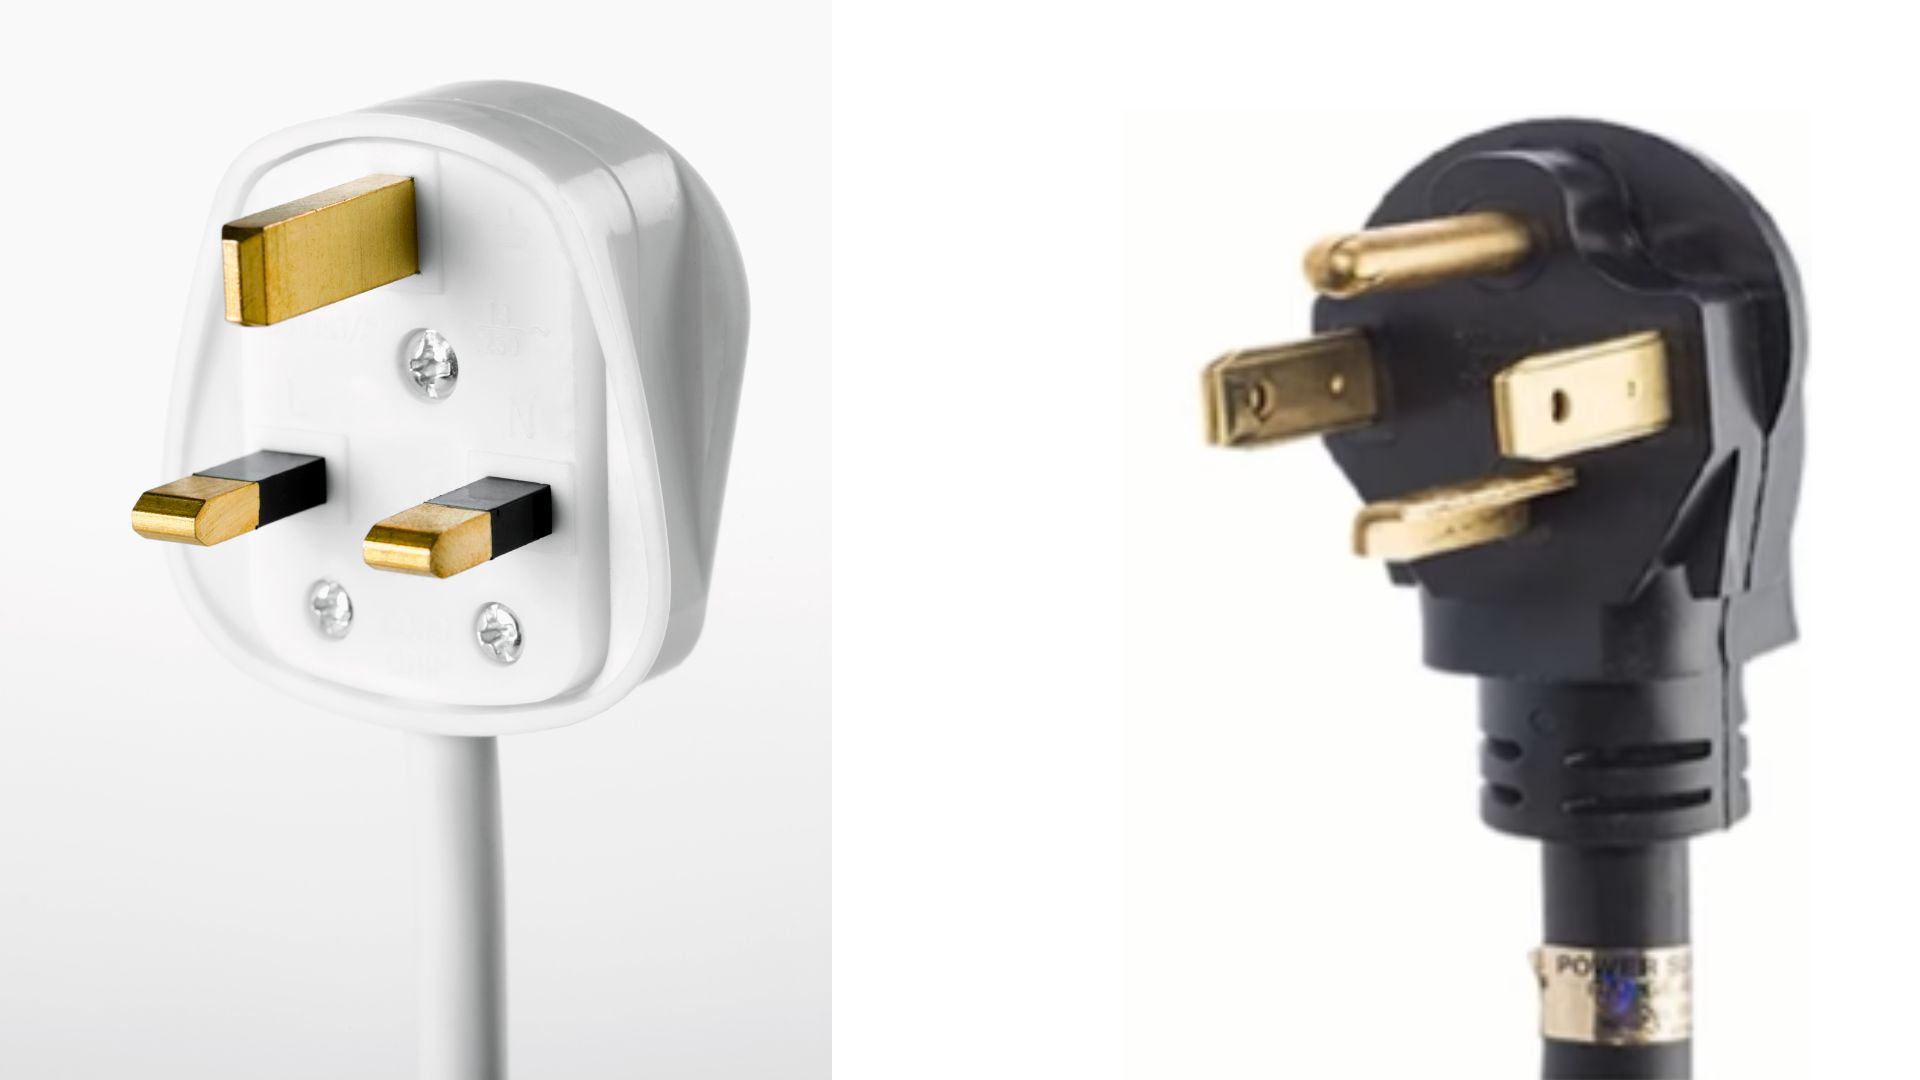
If you live in a home built in the early 1990s, your home is full of 3-prong plugs. But newer homes are different. The National Electrical Code wants contractors to install 4-prong receptacles.
The NEC decided that 3-wire systems in heavy-duty appliances were too dangerous. At the very least, they exposed consumers to electrocution hazards due to the absence of a dedicated ground connection.
Differences Between 3 Wire And 4 Wire Systems
3-wire systems work. After all, they were in use for decades before 4-prong plugs and receptacles became mandatory. They consist of the following:
- You have three wires: two live conductors and one neutral.
- The hot lines are 180 degrees out of phase from each other.
- You need both hot wires to provide the 240 volts heavy-duty devices use.
- The neutral line provides a return path for the current.
- It was also common practice to run the neutral line to the appliance’s metal housing.
Keep in mind that the absence of a ground wire compels you to run the neutral line to the metal housing’s ground connection. A broken ground condition can energize the metal case.
This is why the NEC mandates the use of 4-wire cords and receptacles. They have an advantage you don’t see in 3-wire systems:
- You have four wires instead of three: two hot wires, a neutral and a ground wire.
- The grounding conductor connects to the metal frame instead of the neutral wire.
- The grounding conductor is the only wire that provides a path for the current when a fault occurs.
- Connecting the neutral to the metal frame in this setup violates the NEC’s rules.
What Are Some Common Reasons Why A 3-Wire System May Be Used With A 4-Prong 220V Plug?
People will only use a 3-wire system with a 4-prong 220V plug because they live in an older home constructed before 1996. 4-prong plugs and outlets became mandatory in 1996. Many homes built before that year have 3-prong outlets.
But if you just bought a modern heavy-duty appliance, such as a clothing dryer, it may come with a 4-prong plug. What does this mean? A 4-prong plug won’t fit a 3-prong outlet. Your only option is to bridge the two. You have three solutions at your disposal:
- Replace the power cord. Some laypeople prefer to replace the plug. But they are more likely to get confused because the power cord has four wires, but the 3-prong plug only requires three lines. A new power cord is the safer option. You can also do the reverse, that is to say, replacing a 3-prong cable with a 4-prong cable.
- Replace the outlet. Get a 4-prong receptacle that matches the 4-prong plug. Again, you can do the reverse (getting a 3-prong outlet to match a 3-prong plug).
- Get an adapter.
What you choose to do will depend on your skill level. Power cords are easier to replace for laypeople. They are also safer. An outlet is connected to a 120/240V circuit. You could kill yourself by forgetting to de-energize the circuit.
Most appliances are safe enough once you unplug them. The cost doesn’t matter as much because you will spend $25 or less regardless of whether you need a new power cord or an outlet.
And if you hire a technician, Angi expects you to spend anywhere between $135 and $307 to install a 220V outlet. Don’t expect that figure to fall if you take the other option. It takes relatively the same duration to replace a power cord. Therefore, the labor fees won’t change drastically.
Naturally, the cheapest option is the adapter. You can buy items such as this AC WORKS 3-prong to 4-prong adapter that bridges 3-wire and 4-wire systems.
How To Wire A 4 Prong 220V Plug With 3 Wires?

- Get your tools. That includes a screwdriver, socket wrench, and pliers.
- Disconnect the appliance from the power source.
- Find the electrical connections on the device and remove the metal plate protecting them. The manual will show you where to find these connections. You can also look at the point where the power cord connects to the appliance.
- Use the screwdriver to remove the screws. Disconnect the power cord’s wires from their terminals.
- Remember that the neutral wire is connected to the ground screw. Don’t forget to disconnect it. This is where 3 and 4-wire systems differ. The neutral wire should run to the neutral terminal.
- Connect the new cord with its 4-prong plug. The green wire goes to the ground screw, the white line to the neutral terminal, and the black and red wires to the hot terminals. The hot terminal you use doesn’t matter. They are interchangeable. Although, it helps to remember where you connected each wire.
- Apply the screws. Make sure they are tight.
- Put the metal plate back.
The objective of the procedure above is to replace a 4-prong cord with 3 wires. You can also replace a 3-prong cord with a 4-prong cord if the receptacle has four slots.
Interestingly, you don’t have to replace a 3-prong outlet with a 4-prong outlet, especially if you live in an older home. Despite what you may have assumed, 3-prong plugs and outlets are still legal.
But many people take this step because 4-prong receptacles are safer. They have a dedicated ground. You can follow this procedure:
- Get your tools, including wire strippers, screwdrivers, voltage tester, and pliers.
- Run a 10-3 nonmetallic cable from the service panel to the outlet box.
- Use the wire stripper to remove some insulation (¾-inch) from the wires
- Run the bare wire to the ground screw of the 4-prong outlet.
- The white wire connects to the silver terminal of the 4-prong outlet. You will either loop the wire around the screw or push it into the slot.
- Connect the two hot wires to the hot terminals.
- Push the outlet and the wires into the box and tighten the mounting screws.
- Add the cover plate.
Because you’re working with a circuit as opposed to an appliance, kill the power beforehand using the main breaker.
If you replaced the power cord, which is what most contractors do, test it by connecting the appliance and turning it on.
Observe it. Is the appliance working? You did a good job. Is the device sparking or overheating? You made a mistake. Call a professional.

